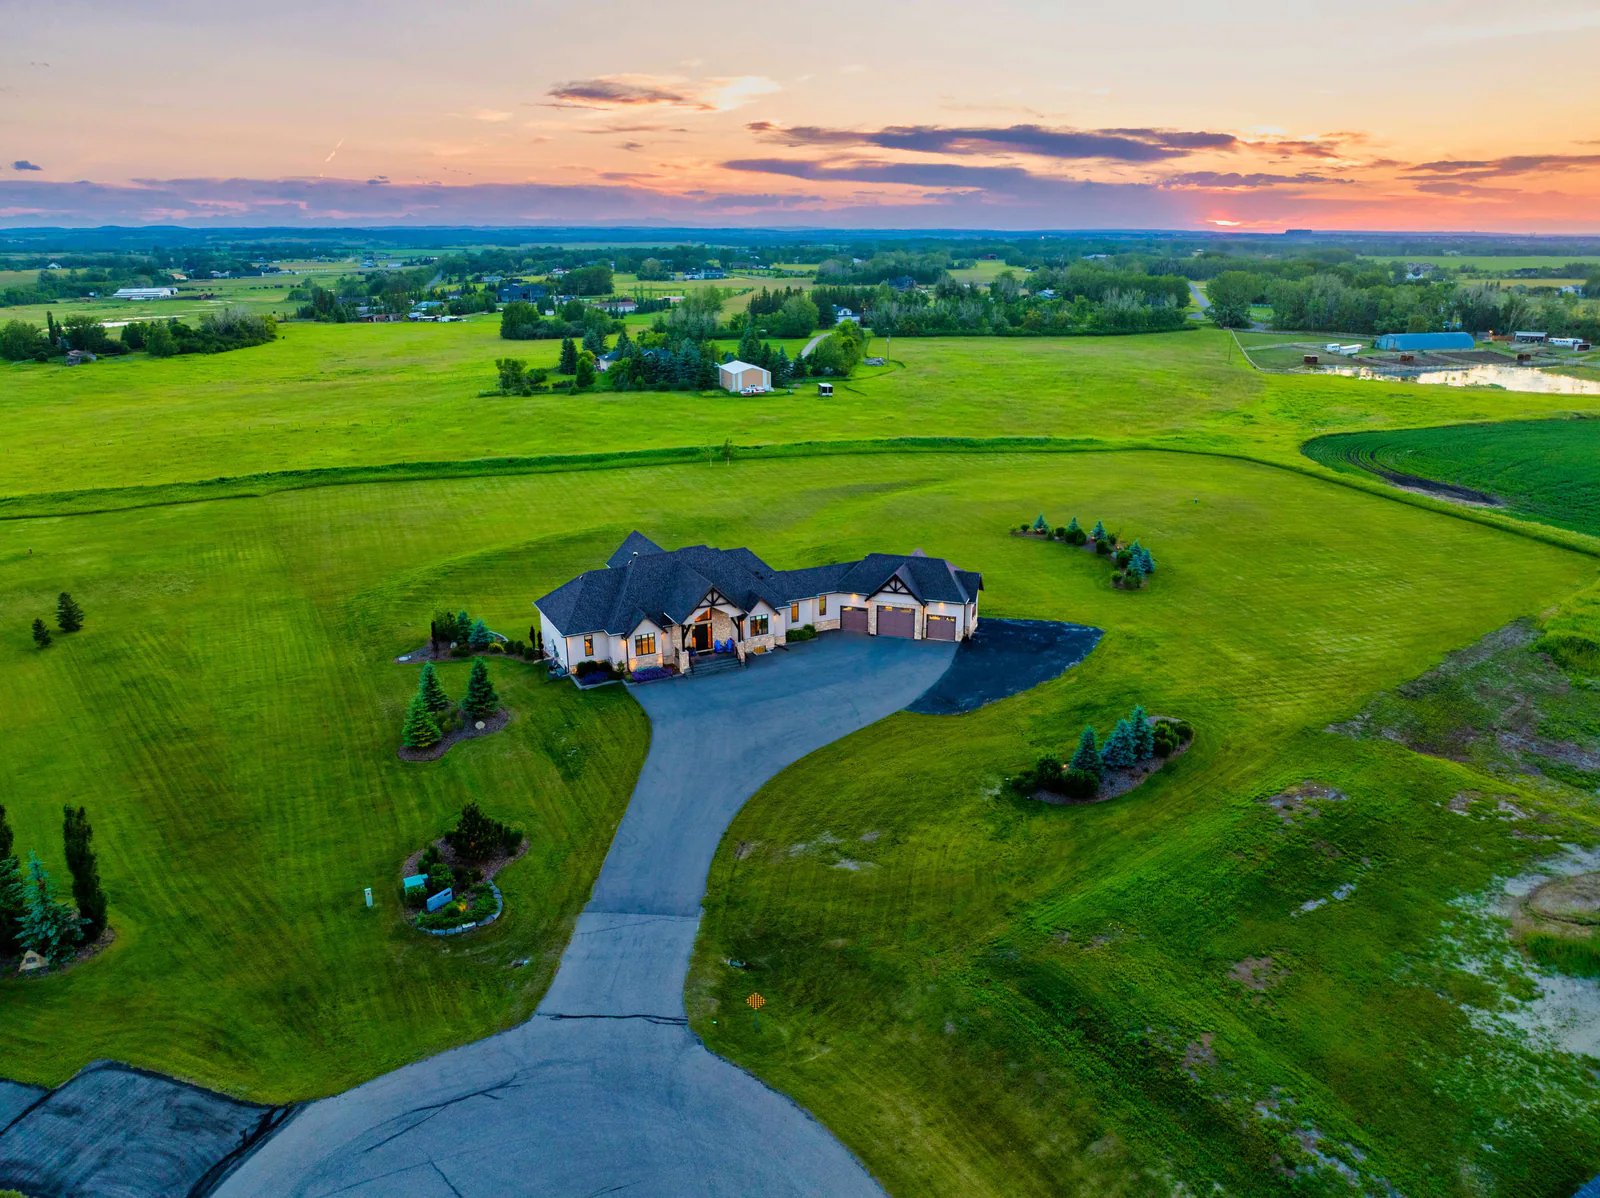
Plan a sequence before choosing a hero image
Walk the approach, entrance, main living spaces, outdoor gathering areas and outbuildings with your listing team. Identify the questions a visitor needs answered: where the home sits, how the shop is reached, which land is part of the parcel and what the photographs show beyond it.
Build a shot list in that order. A strong opening image should establish the actual property’s setting. Follow with photographs that explain the house, the outdoor rooms and the relevant improvements. Give the photographer the purpose of each image so the collection is useful as well as attractive.
Prepare the route people will see
Arrange access, parking and occupied areas through the listing team. Clear ordinary clutter from the approach and presentation spaces, keeping personal documents and identifying family material private. Discuss pets, gates and active workshop areas before the shoot so nobody has to guess how to enter or what can be moved.
Choose a manageable preparation list. Separate housekeeping, specialist repairs and optional presentation work. Ask the agent how each fits the marketing plan before commissioning a large expense. This guide promises no price premium or return on renovation spending.
Keep the image and the claim together
Aerial photography is helpful context, but it is not a survey. Establish boundaries through appropriate records and professional review. If a marketing graphic includes a conceptual boundary, make its basis and limitations clear; do not allow an attractive line to imply a verified legal extent.
Label surrounding-community images as community context. Keep photographs of the actual property distinct from conceptual illustrations, archival images and views from elsewhere. A seasonal photograph can add useful information when its date and subject are clear. Avoid presenting a possible future building as an existing improvement.
Make the property file support the visuals
Organise the water, private sewage, building and access records before the marketing conversation. The public image collection should not expose service invoices with personal details, account numbers or gate codes. Let the listing team decide which records to share with a buyer and how to redact them.
A beautiful workshop deserves a clear inclusion list and an honest account of its permitted use. Photographs cannot settle a missing permit or identify which equipment is part of the sale. Keep those questions in the seller preparation file and request the appropriate professional review.
Connect the shoot to showings
Create concise viewing instructions for arrival, parking, pets and occupied buildings. Review them with the listing team and update them when circumstances change. Make the property comfortable to understand without asking visitors to operate unfamiliar equipment.
Use the seller preparation planner to record the work, the records and the next action. Then combine its downloaded summary with other working plans in the property brief. Keep the public presentation accurate and the private owner file complete.
Take it to the property
Your takeaway checklist
- Approach-to-outbuilding shot list agreed
- Access, pets and occupied spaces coordinated
- Personal documents removed from public photographs
- Actual-property and community images labelled
- Boundary illustrations checked against suitable records
- Inclusion list and viewing instructions prepared
Questions to bring to the conversation
Can drone photography establish the property boundary?
No. Use appropriate survey and title information with professional review. A drone view provides context.
Should we digitally add a shop the buyer could build?
Any concept must be clearly identified and must not suggest an existing building or an approved development. Use real property photography for the listing’s actual improvements.
General planning information for residential acreages. Confirm parcel-specific requirements and contractual decisions with the appropriate authority and professionals.